Updated 5 October 2024 at 14:03 IST
Create Your Henna Paste For Karwa Chauth; Achieve Long-Lasting Mehendi!
As we approach this auspicious day, why not try your hand at creating your henna paste for long-lasting Karwa Chauth mehendi?
- Lifestyle News
- 3 min read

With the onset of the festive season in India, one of the most significant festivals, Karwa Chauth, is just around the corner. This year, it falls on Sunday, October 20. On this day, married Hindu women observe a fast and pray to deities for the long life of their husbands. Wives adorn themselves in traditional attire and apply beautiful mehendi to mark the occasion.
As we approach this auspicious day, why not try your hand at creating your henna paste for long-lasting Karwa Chauth mehendi? The following recipe yields about 3.5 ounces of henna paste, which is enough to fill approximately seven applicator bottles or 4-5 hand-rolled cones.
Tools
- Bowl and spatula/spoon (any will do, but plastic, rubber or other porous materials may stain permanently)
- Water (Distilled or purified water is most reliable)
- Cling wrap or plastic lid for the bowl
- Cake decorating bag or durable sandwich bag
- Applicator (rolled cones or squeeze bottles)
- Digital scale (optional)
- Digital thermometer (optional)
Ingredients
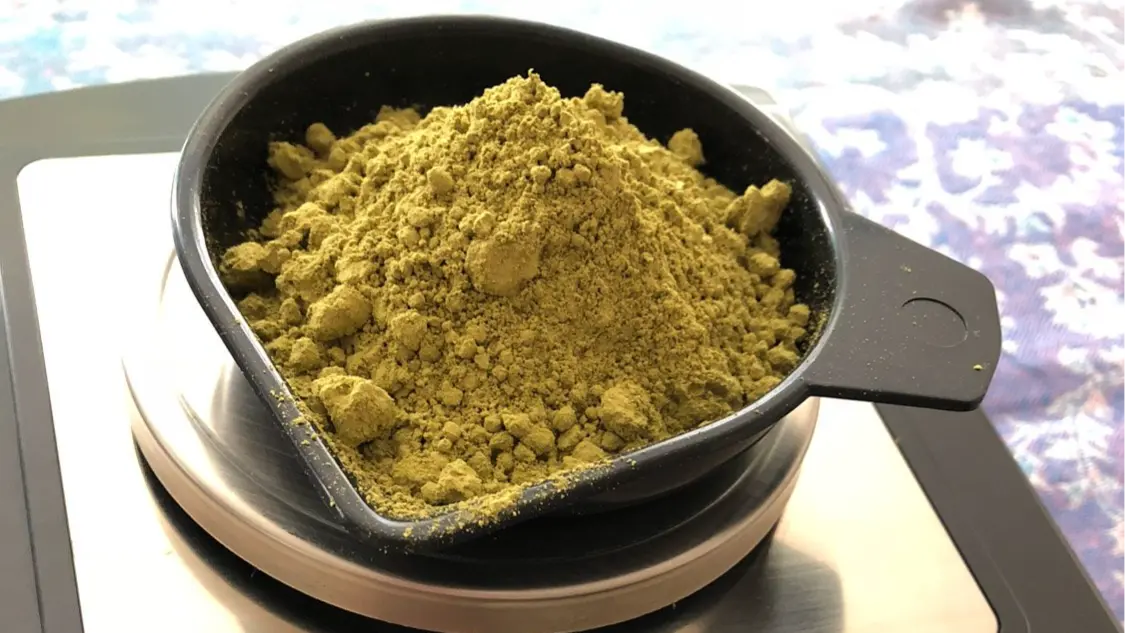
- Body art quality henna powder.
- Essential oils such as organic cajeput. Any oil with a high “terp” content will work great.
- Sugar - Do not use powdered/confectioner’s sugar.
Process
Step 1: Add these to your bowl: 25 grams of henna powder (about 1/4 cup), 13 grams of sugar (about 1.5 tsp), 7.5 ml of essential oil (about 1.5 tsp) and approximately 1/4 cup of water. We like to mix the dry ingredients first, then add the water, and add the essential oil last. It blends better this way but isn’t required. Mix well. The paste should be pretty thick but all ingredients are blended thoroughly. If it’s too thick to blend, add a teeny bit of water (start with 1 tsp) and try mixing again. Repeat as needed. Don't worry about small lumps, those will mostly dissolve later.

Step 2: Cover with cling wrap. You don't have to be too careful about it - the idea is just to keep the henna from drying out. Now, let it rest for a while. If you want to use it the next day, just leave it out on your counter overnight. If you want it ready faster, put it in a warm (not hot) location, such as the top of your fridge or sitting under a stove light. Use a thermometer to check the temp of the paste. Your goal is to keep it around 75-80˚ F. At that temperature, it’ll be ready in about 3-4 hours*.* 3-4 hours is typical for Sūraja henna powder, but results may vary. If you're using powder from another supplier please check with them for their recommended resting times.)
Advertisement
Step 3: Check to see if your henna is ready with a simple spot test. Dab a bit of henna on your fingertip and leave it there for about a minute. When you wipe it away, in natural light it should be bright orange. If it's not, let it sit a bit longer and test it again in another hour.

Step 4: The henna is ready! Time to get it to the perfect consistency. Add a little water to the mixture, and stir it up well. Continue to add water, 1 teaspoon at a time, with lots of mixing between each addition. More mixing = silkier paste! With practice, you'll get a feel for how thin you prefer your henna. You want it to be thin enough that it’s easy to use, but not so thin that it oozes everywhere when you make designs.
Advertisement
(Henna recipe: sarahenna.com)
Published By : N. Lothungbeni Humtsoe
Published On: 5 October 2024 at 14:00 IST
